Rug tufting is an art form that starts with the basics of creating a functional, beautiful rug but has endless possibilities as your skills grow. Once you’ve mastered the fundamentals, such as setting up your tufting frame, threading your tufting gun, and creating simple designs, you might be ready to explore intermediate techniques to elevate your tufting game. In this blog post, we’ll dive into some intermediate rug tufting techniques that will help you bring more complexity, texture, and artistry to your creations.
1. Playing with Pile Heights for Texture
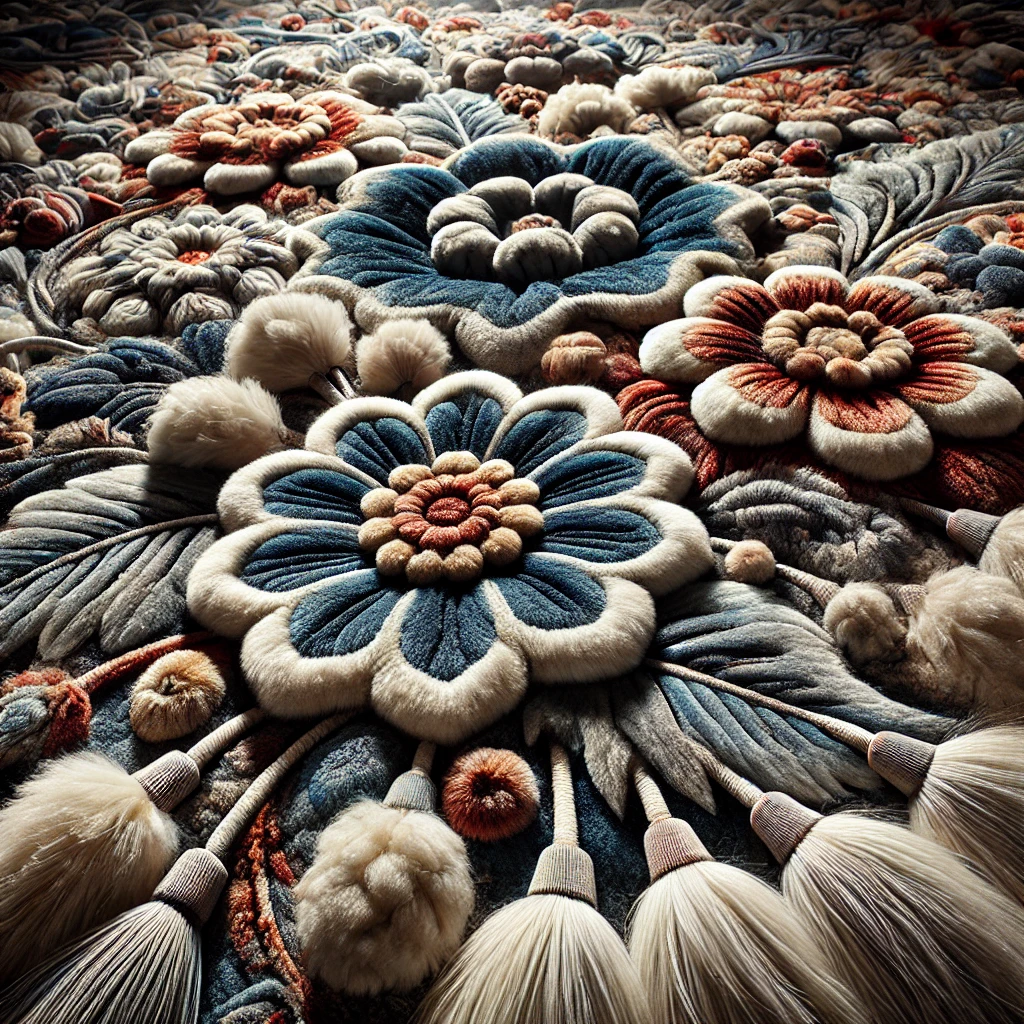
One of the easiest ways to make your rugs stand out is to experiment with varying pile heights. Instead of sticking to a single pile height across the entire rug, you can adjust the tufting gun settings or use different yarn types to create depth and dimension.
For instance, you can use a higher pile for fluffy, cloud-like areas and a lower pile for sleek, clean shapes. This technique works particularly well for nature-inspired designs, like flowers, landscapes, or even abstract textures.
Pro Tip: Practice on a scrap piece of fabric to ensure the transition between pile heights is smooth and intentional.

2. Incorporating Cut and Loop Piles
Most beginner tufting projects use either cut pile or loop pile, but intermediate tufting artists know that combining both can add incredible texture and definition to their designs. Cut piles provide a softer, plush look, while loop piles add structure and durability.
You can use cut piles for elements you want to stand out, like bold lettering or vibrant details, and loop piles for the background or patterns that require precision. Mixing these techniques requires careful planning, so sketch your design with these pile types in mind.
Pro Tip: Use masking tape or color codes on your tufting frame to remind yourself where each pile type will go during tufting.
3. Gradient and Ombre Effects
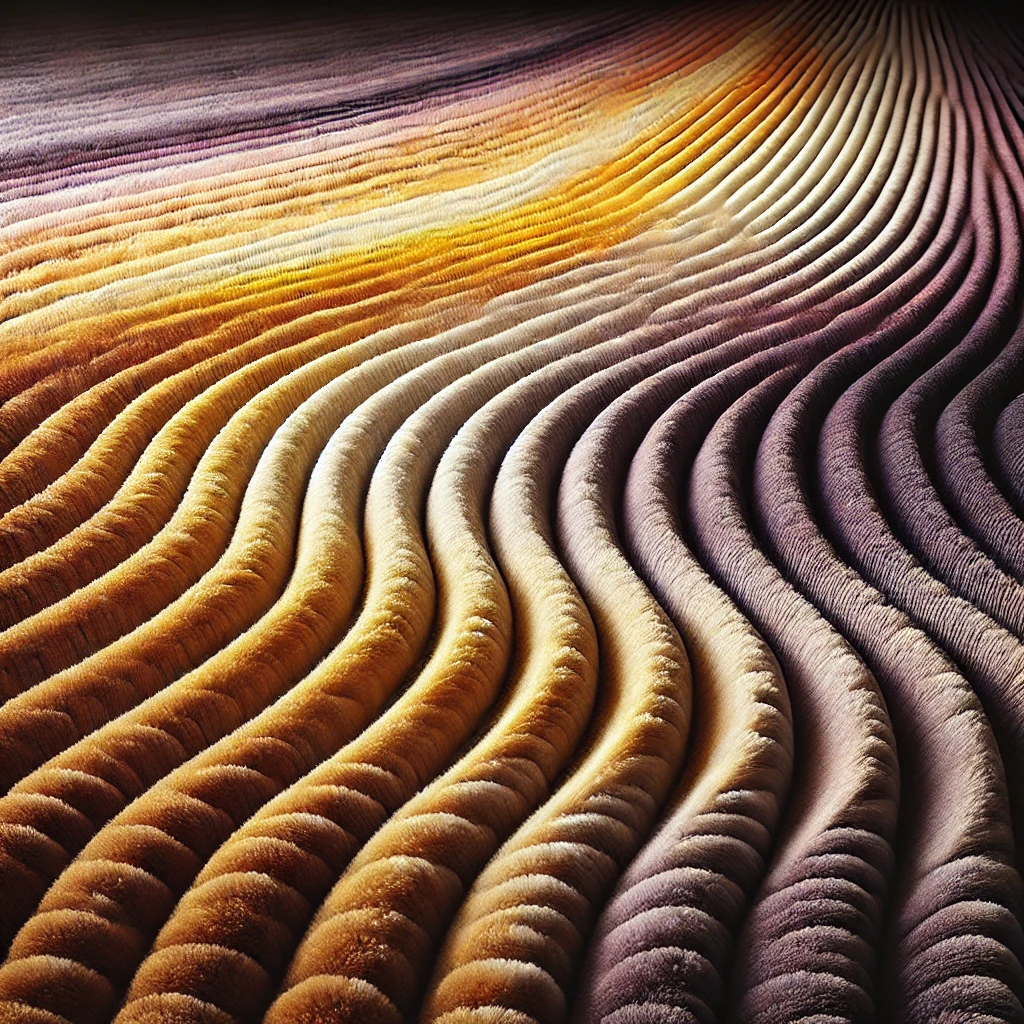
Adding color gradients or ombre effects to your rug is an intermediate skill that instantly makes your work look more advanced. This technique involves blending yarn colors to create smooth transitions. You can achieve this by gradually mixing two yarns on the tufting gun or by changing the yarn every few stitches.
For example, if you’re creating a sunset rug, transition between yellow, orange, pink, and purple yarns for a seamless gradient effect. Practice blending on smaller areas before tackling larger gradients.
Pro Tip: Use a color wheel to help you choose harmonious shades for blending, and avoid contrasting colors that might create a choppy effect.

4. Adding Details with Needlework
Sometimes, tufting alone doesn’t give you the level of detail you need, especially for intricate designs like fine lines, small text, or delicate shapes. Enter needlework! After tufting the main design, you can use embroidery or latch-hook techniques to add extra details and textures.
Needlework is especially effective for fine outlines, facial features on characters, or even adding metallic or textured threads for a unique touch. It’s a great way to elevate a simple design into a complex masterpiece.
5. Shaping and Carving Your Rugs
Intermediate rug tufting isn’t just about what’s on the surface—it’s also about the overall shape of the rug. Instead of sticking to traditional rectangles or circles, try creating rugs in unconventional shapes, such as animals, geometric patterns, or abstract forms.
Once your rug is tufted and backed, use sharp fabric scissors or an electric rug trimmer to carve the edges into your desired shape. You can even use rug carving tools to add further definition within the rug itself, like sculpting fur patterns or 3D effects.
Pro Tip: Always secure your backing fabric with a strong adhesive before carving to prevent the yarn from unraveling.
6. Layering and Multi-Piece Rugs
If you’re feeling ambitious, you can experiment with layering rugs or creating multi-piece compositions. For example, you can make smaller tufted pieces (like flowers, clouds, or abstract shapes) and sew them onto a larger rug for a three-dimensional effect. Alternatively, you can tuft separate pieces that fit together like a puzzle.
This approach allows you to think beyond the boundaries of a single rug and transform your work into functional art or large-scale wall hangings.
Final Thoughts
Intermediate rug tufting techniques give you the freedom to explore your creativity while refining your skills. As you practice combining pile types, experimenting with gradients, and adding intricate details, you’ll find that your designs become more polished and unique. Remember, the key to growth is patience—don’t be afraid to make mistakes and learn from them.
Whether you’re tufting for fun or hoping to sell your rugs, these intermediate techniques will set your work apart and help you take your artistry to the next level. So grab your tufting gun, pick out some vibrant yarns, and let your creativity flow!
Leave a Reply